Give me a Drink!: 14/52 (Let’s Do 52)

Last week, when I was on spring break (It was lovely; did I tell you that?), I ate at Raisin’ Cane’s with The Hunk.  I love that place.  Ever eaten there?  It’s basically only chicken tenders.  Delicious, steaming hot chicken tenders.

I, personally, love their sweet tea.  A native Kentucky girl, it’s nice that I’m guaranteed some sweet tea at this restaurant in Ohio.  (Yankees need a clue when it comes to sweet tea!)

I edited this images on Picnik in honor of the end of a wonderful online photo editing resource.  It will be missed.  Here’s hoping Google doesn’t replace it with something inferior.

Anyway, have a fabulous day!

Without further ramblings,


Templates+

Photoshop Elements 9 has been awesome for photo editing.  But I’ve been wanting to step up my game.

So, I’ve been experimenting with templates since I purchased Lightroom.  I’m looking forward to moving more toward using Lightroom for more editing.  I really like how my images look with LR3.

Both have templates.  And I’ve been experimenting with them.  Check out some of my attempts:

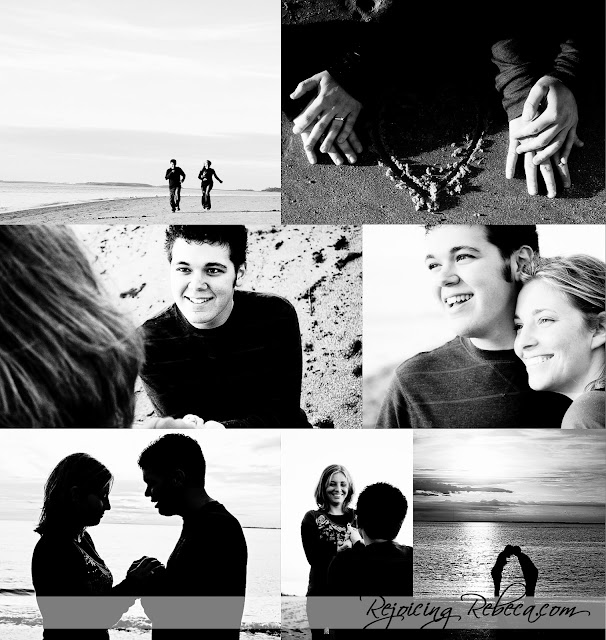
A sort of thematic template.

I made this black and white. I don't like how dark the pic is at the top right.

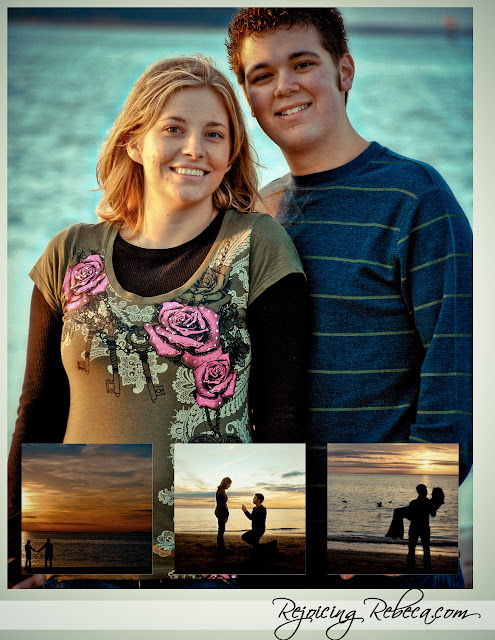
I like this one. Simple and happy.


This one came out a little off-centered. I don't know why, but I like the three less detailed images at the bottom.

I’m so pumped about a couple sessions I have coming up over the next few months.  I have a senior picture session and the Jon + Jess wedding.  These sessions should be awesome changes to improve my craft.

The ever-so-hopeful,

New Endeavor: Lightroom 3

It was all over twitter and facebook and blogs.  Lightroom 3 was only $70!

But I missed it due to a 15-hour long day.  No time for research and purchase and husband-consulting.

Lucky for me, I found it on Amazon a few days later for $69.99.  It is the student/teacher version, but I am a teacher so that works out perfectly!

So, for the last few days I’ve been introducing myself to catalogues, presets, histograms, and exporting methods.  It’s been a sweet ride and I love this sort of ride–the kind where I learn using tutorials and experiments.  We could talk about how this goes right along with my personality, but that’s another long story.

At any rate, I’ve made some edits.  You’ll find my final products below:

I love how soft this picture is:

This is my favorite subject:

He studies a lot:

He’s so handsome!  And intelligent!  Swoon…

You don’t have to agree.  But you’d be wrong.

I love the grayscale here.  So dreamy:

This picture makes the English teacher in me do a cartwheel:

I love the extras in the program–not just a photo editing program, but a photo organizer and exporter.  It plays nicely with picasaweb, which is where I store all my pictures for this blog.

I look forward to using it with the upcoming senior pictures and wedding I’ll shoot.  I know Jess and Jon will benefit from practice greatly!  Be on the lookout for practice!

Anyone else want to be my guinea pig for some photos?

Your precious EnFP,

Linear: 6/52 (Let’s Do 52)

As the craziness of life speeds up, my posts slow down.  So, therefore, I get a little behind in my personal photography and, by the same token, posting my images here.

Confession: I haven’t taken a picture of myself.  For now, I’m skipping week five.  I do what I want. :)

I recently switched to shooting in RAW.  I’m pretty sure I’m converted–ya’ know, for images I plan to edit and such, this seems like the best bet.  I will shoot my first contracted wedding in June and I will shoot in RAW.  At any rate, I have been playing with RAW editing.  I didn’t know that, when opening RAW images from the camera in Elements, I’d edit the color differently–and more effectively, if you ask me–before even loading the images into the elements project bin.  This is an extra step, but I’m very pleased with the outcome.  You’ll noticed the differences in the before/after image below:

The main difference that makes me pumped is the graininess of the background before editing in Camera Raw.  I like the color better, too.  Notice the vibrancy of the green.  I’m a fan, as if you couldn’t tell.  I’ve been playing with some other images, too.  I’ll practice a little more.  My only concern is memory; looks like I’ll be purchasing some additional memory cards before the June wedding shoot I have.

What have been your experiences with shooting in RAW?  When do you switch back to JPG?

This post is doubling as my linear post for Let’s Do 52.  I love the lines of the cube.  In short, I love straight lines.

These little guys are tricky.  I can fairly easily get one side solved–but the others never happen.  I know people who compete with these–like, nationally.  But I could never… never be proficient enough to solve them in 32 seconds.

What about you?  Can you solve them?

The scientific photographer,

Negative Space: 3/52 (Let’s Do 52)

Today is the perfect day to capture a negative/white space image.  Last night, as The Hunk and I were falling asleep, we heard icy precipitation hit the bedroom window.  I don’t know how much it snowed overnight, but we woke up to a nice covering.

I found this beauty in front of my place.  I used Paint the Moon‘s Vanilla Pop action to give it a nice warmth and softness.  I love the action; it gives me a lot of freedom to adjust the settings.

So, I’ll probably spend the rest of this cold day inside.  Maybe have some hot chocolate.  Maybe nap off and on.  And, of course, curl up in my t-shirt blanket.

Stay warm,